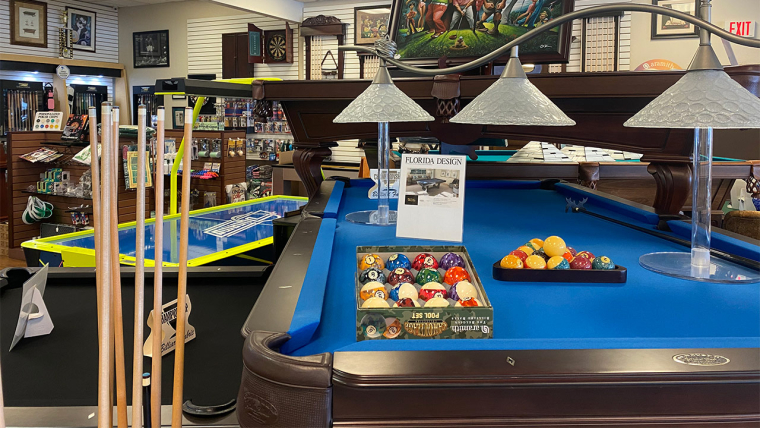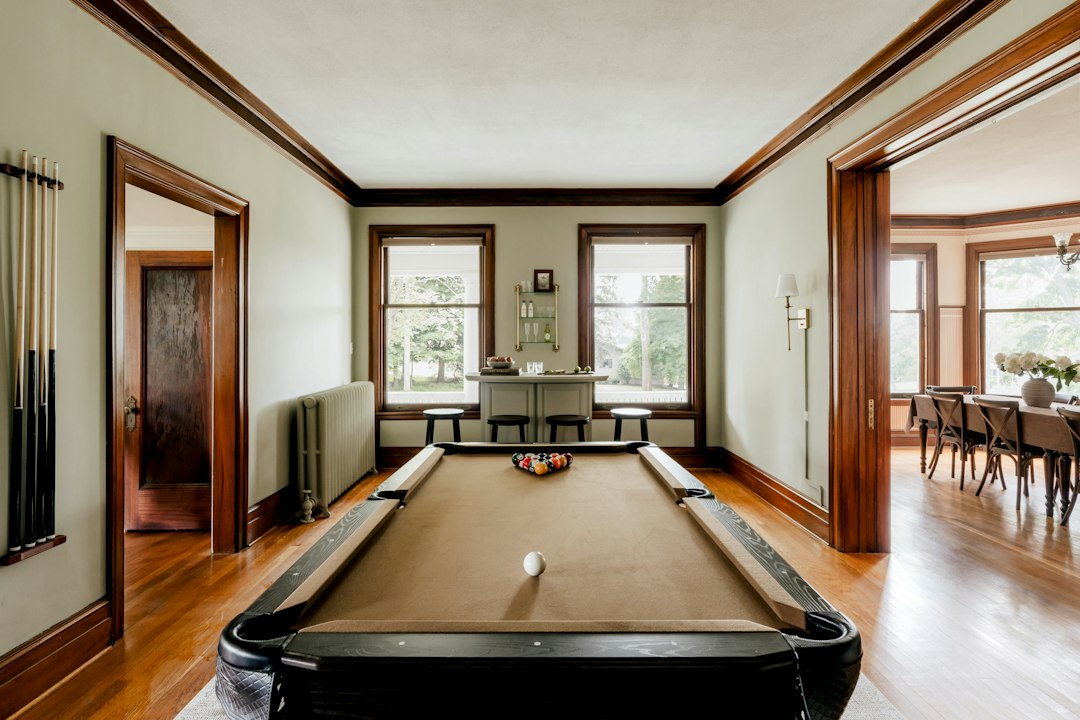
A new pool table becomes enjoyable only after it is assembled, leveled, and ready for consistent play. The delivery itself is just one stage. A professional installation brings together the cabinet, slate or other playing bed, rails, cloth, pockets, and final adjustments in the room where the table will remain. For a South Florida homeowner, planning for that appointment can protect the furniture, the floor, and the investment in the table.
Boynton Billiards helps customers compare pool tables and plan for a suitable space. This guide explains what to ask before installation, how the process typically unfolds, and what to check before the installation team leaves. The exact steps vary by model, manufacturer, and site conditions, so confirm the scope of your own delivery and setup.
Measure the Room Before Delivery Day
Start with more than the table’s outside dimensions. Players need room to stand and use a cue on every side, even when the cue ball rests close to a rail. Measure the usable floor area after accounting for doors, barstools, columns, shelves, and furniture. A room may technically fit a table but feel cramped once people start playing. The pool-table room-size guide helps you think through table size and cue clearance.
Confirm the route from the truck to the final location. Door widths, turns, stairs, elevators, gates, and floor protection can change the work involved. Tell the installer about a tight stairwell or a second-floor room before the appointment. It is easier to plan handling and staffing in advance than to solve an unexpected access problem while heavy components are at the door.
Prepare the Floor and the Final Position
Decide where the table should sit before assembly begins. A table can be moved later, but moving a fully assembled slate table casually is a poor idea; major moves normally call for disassembly and re-leveling. Consider the sight line from the seating area, glare from windows, location of electrical outlets, and where a billiard light may hang.
The floor must support the table’s weight and allow stable leveling. Tile, wood, carpet, and concrete can each present different challenges. If new flooring is planned, discuss the sequence with the installer. A table placed on a floor that will be replaced soon may have to be disassembled and installed again. Protect nearby walls and clear the room of fragile décor before the team arrives.
What the Installation Team Assembles
Installation begins with the table’s structural components and the manufacturer’s assembly instructions. Depending on the model, technicians build or position the base, attach legs and frame components, and place the playing bed. On a multi-piece slate table, the seams and support must be addressed before cloth is installed. One-piece designs and non-slate models have their own procedures.
Precise leveling is a central part of the job. The technician checks the bed across multiple points, makes adjustments, and confirms that balls roll predictably. A single quick reading at the center is not enough to evaluate the entire playing surface. The team then installs or tensions cloth, attaches rails and pockets as required, and checks that visible finishes have not been damaged during assembly.
Cloth, Rails, and Pocket Alignment
Cloth should lie smooth and properly tensioned. Excessive wrinkles, loose edges, or visibly uneven rail cloth deserve attention before the job is considered complete. Installation techniques vary with the table and cloth selected, so ask what is appropriate for your model. The felt options and room chart can help you plan color and room layout before the appointment.
Rails and pockets also affect the playing experience. Rails should sit securely and align with the bed; pockets should be properly attached and free from obvious obstruction. A new table is not necessarily tuned to one person’s preferred rebound, but it should be assembled according to the manufacturer’s specifications. If something looks loose or uneven, bring it up while the installer can inspect it in place.
Check the Table Before the Team Leaves
Ask the installer to demonstrate the finished playing surface. Watch several balls roll slowly from different areas rather than judging level from one shot. Look at the cloth, pockets, rails, cabinet joints, and any covers or accessories included with your purchase. Confirm how to use adjustable features and where the manufacturer’s care instructions are kept.
This is also the time to ask about the service process if the table settles after installation. Flooring and room conditions can change, and a table may later need a minor adjustment. Write down the date, table model, and any care guidance you receive. If the table includes a warranty, keep the purchase and installation documents together.
Plan Lighting and Accessories at the Same Time
Good playing light should illuminate the full bed without shining in a player’s eyes or casting distracting shadows. If a hanging fixture must be wired or installed, coordinate that work with the table’s final placement. Do not assume the center of the room is the right center for the table. A ceiling fan, sprinkler, or low beam may also affect fixture placement.
Think through cue storage, ball racks, chalk, a table brush, and a fitted cover. A cue rack keeps equipment off the floor and away from a high-traffic doorway. Accessories should have a home so the playing area remains inviting. Boynton Billiards offers billiards accessories and can help you decide what belongs in the room from day one.
Care for the Table After Installation
Once the table is ready, a few simple habits help preserve it. Keep drinks off the rails, brush or clean the cloth according to the cloth maker’s instructions, and use the cover when the table is not in use. Avoid placing heavy objects on the playing surface. In a humid South Florida home, steady indoor climate control is kinder to wood, cloth, and other materials than repeated swings in temperature and moisture.
Do not try to correct a noticeable roll problem by lifting or dragging an assembled slate table. A professional can determine whether the issue is a leveling adjustment, floor movement, or another component. Our pool-table moving guide explains why a proper move is a separate project from ordinary furniture moving.
Ask Boynton Billiards About Your Setup
A successful installation starts before delivery: select the right table, measure the room, plan the path inside, and agree on the installation scope. When the work is done, inspect the playing surface and ask questions about care and future service. Those steps help the table become a dependable centerpiece instead of a source of surprises.
Visit the Boynton Billiards showroom or call 561-736-7665 to discuss pool tables and setup for a home or business in South Florida. Bring room measurements and photos of access points so the team can help you plan the next step.